Each unique event will have several items for you to download post-event!
This is included for all of your events, and we can't wait to show you those winning faces! Your Event Producer will have these uploaded to your Dashboard within 24 hours post-event.
Let's show you where to access these 📸
- In your Dashboard, you will want to find your event. Go to 'Select Event', and click on the purple button that says 'Yesterday and After' for access to your event calendar.
- Use the calendar to filter and find your event and you can select your event.
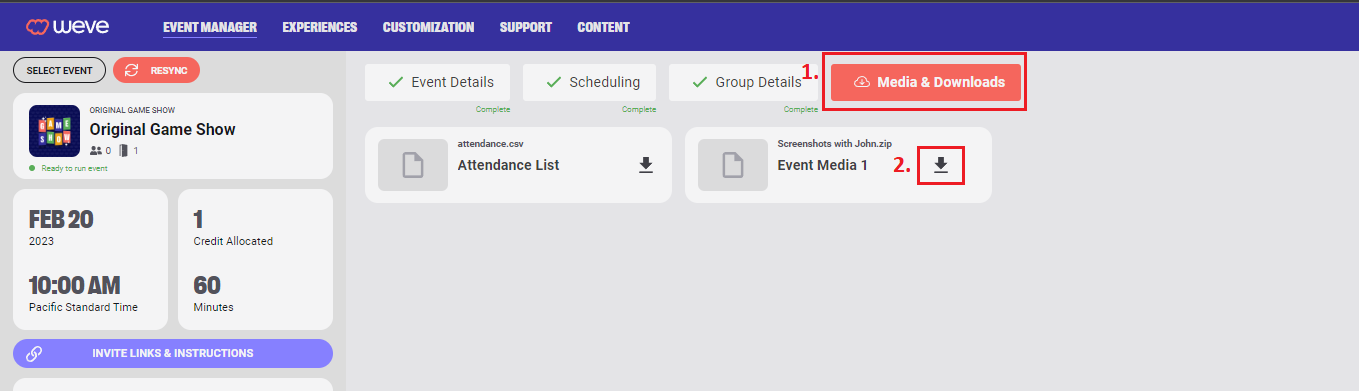
- Once the event has been selected, you will see a tab labeled 'Media & Downloads'. Click in there, and VOILA✨! Download Event Media and Attendance List. Feel free to share those screenshots with your team! These can be used for prizes later on, a memento of a glorious time, or just bragging rights 😏.


PRO TIP: These photos will be on a Zip file. See below on how to unzip those files:
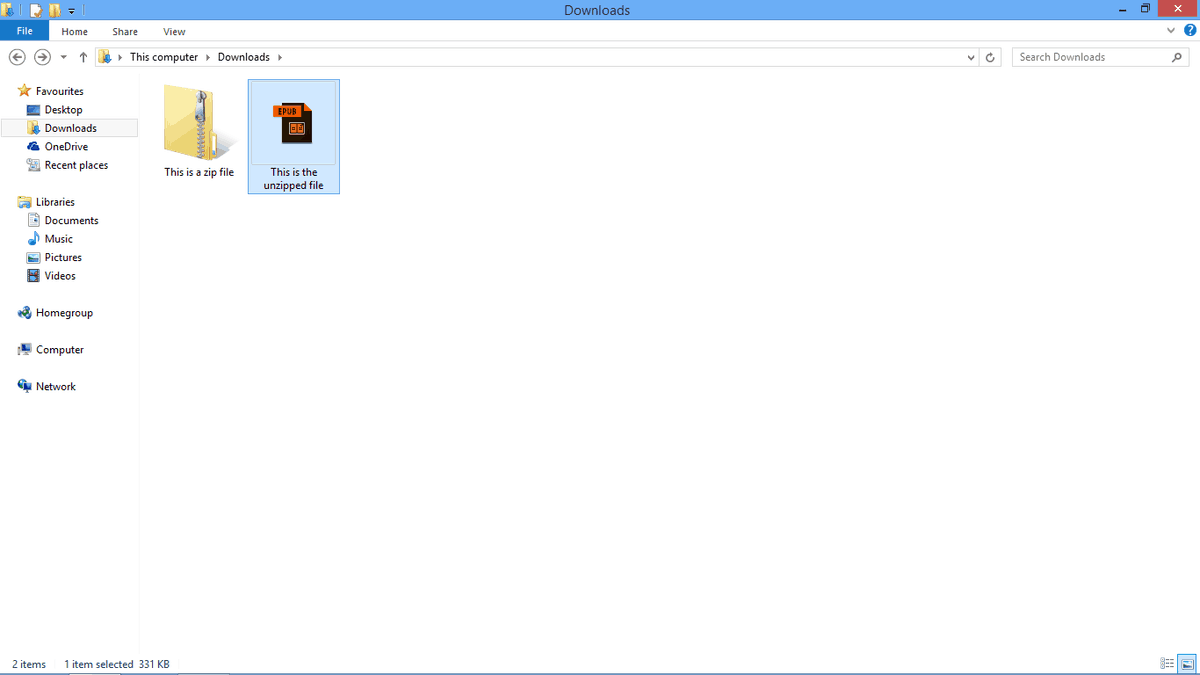
Windows
While it is possible to see the content of a zip file by double-clicking on it on Windows, you still need to extract the files to use it. The Windows default support for .zip goes by the name of Compressed (zipped) folders and here’s how to use it:
- Right-click the file that you want to decompress and choose Extract All.
- Choose the directory where you want to keep the extracted files and click Extract. It is optional to check the box underneath if you need to see the content immediately after the extraction is done.
- The files that were inside the .zip now can be found in the location you picked in step two.
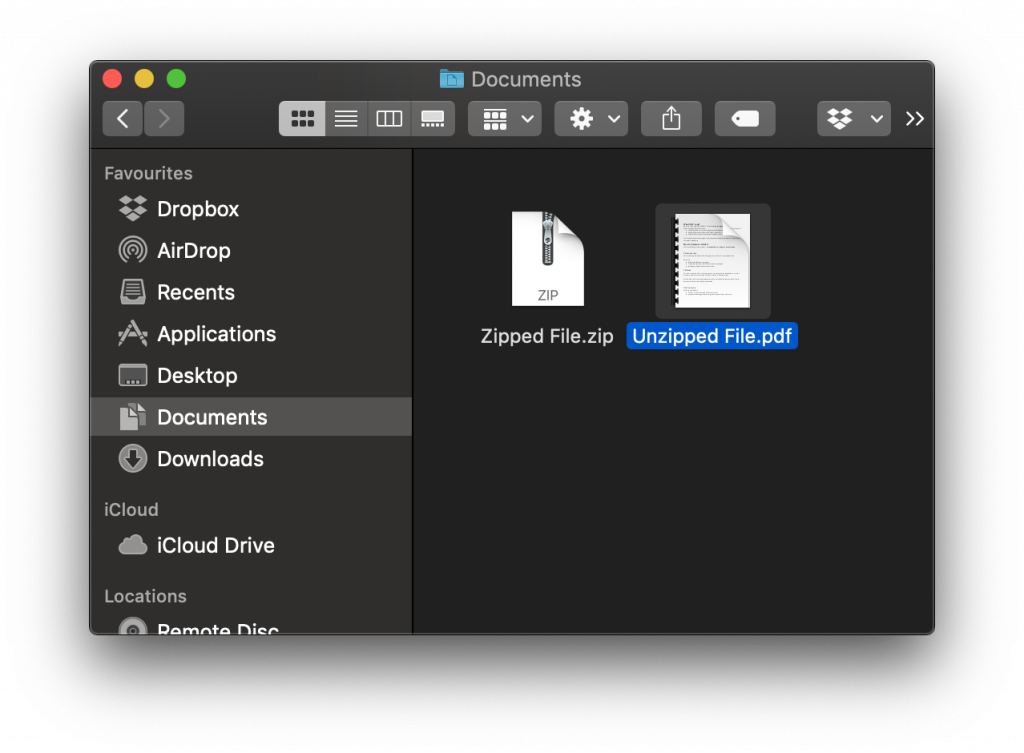
macOS
Archive Utility is Mac’s built-in tool that handles the .zip format. To unzip a file, follow these steps:
- Double-click on the file you want to unzip.
- Once extracted, the file will appear in the same folder as its archive.
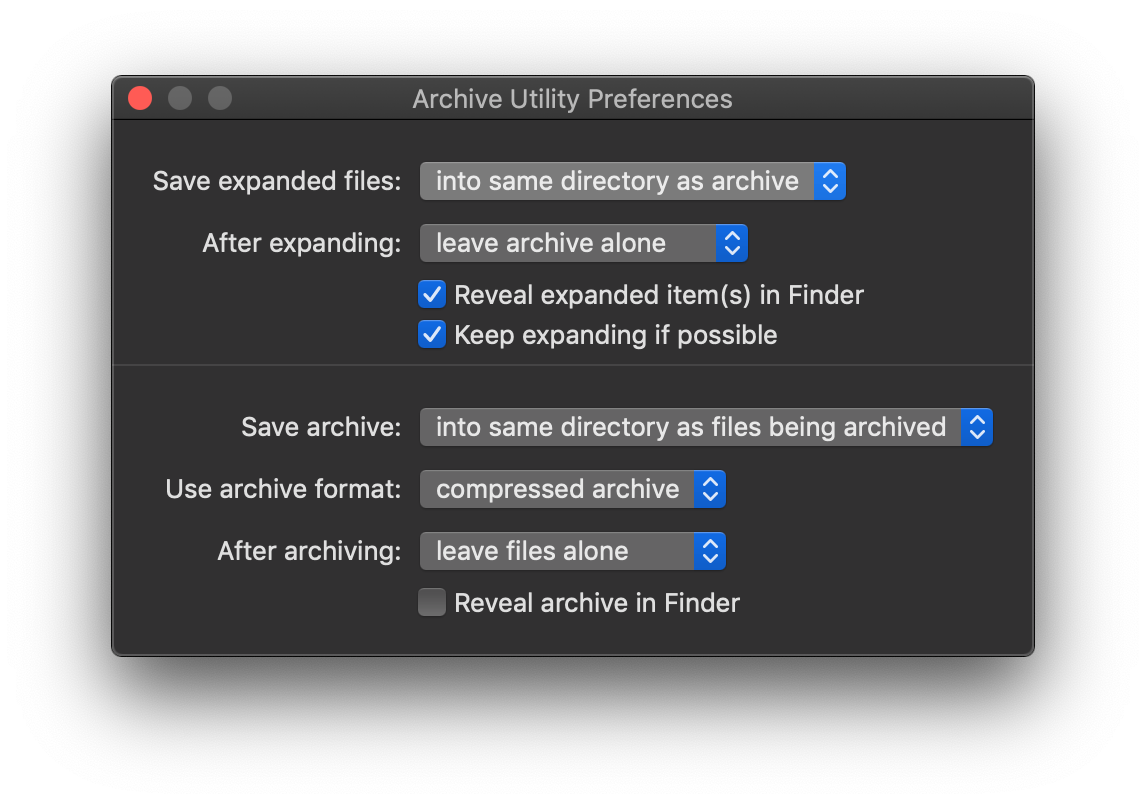
If you want to change the default folder location, access Internal Hard Drive -> System -> Library -> Core Services -> Archive Utility. Once there, select Preferences and set the location by clicking Save Expanded Files.